Showing posts with label recipes. Show all posts

5.06.2010

The Grind

It's hard being an art student. While you are exempt from tedious mathematical problems and formulas, textbooks filled with documented strands of human logic, and rote memorization, you are not exempt from thought. Art is hard, my friends. Art within the institution, is even harder. Your only basis of validation and "academic" success is comprised of pure subjectivity. Your "schoolwork" is not just something to be turned in, scribbled on with red ink, and transcribed into a metonym of self-worth. It's your perception of beauty, your creation. Every time you present something, you are making yourself vulnerable to peers who might be more experienced, and instructors who are clearly more experienced. A bad critique does not just stipulate a bad day. You can't just "study harder" for the next critique or "prepare" to make compelling work. If it's bad, it's just. . . bad. In some ways, I enjoy it, in other ways, I hate it. Suffice it to say that some days I come home mentally exhausted, and all I want to do . . .

is cook :)

A few creations from this week:

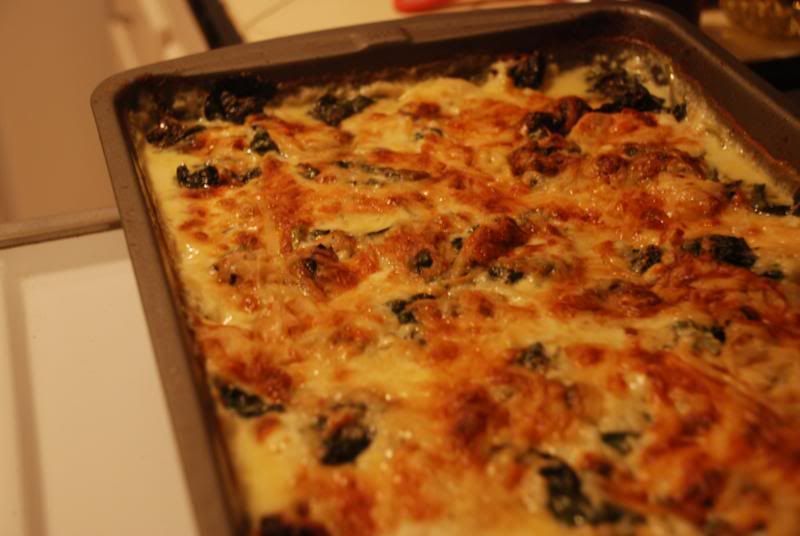
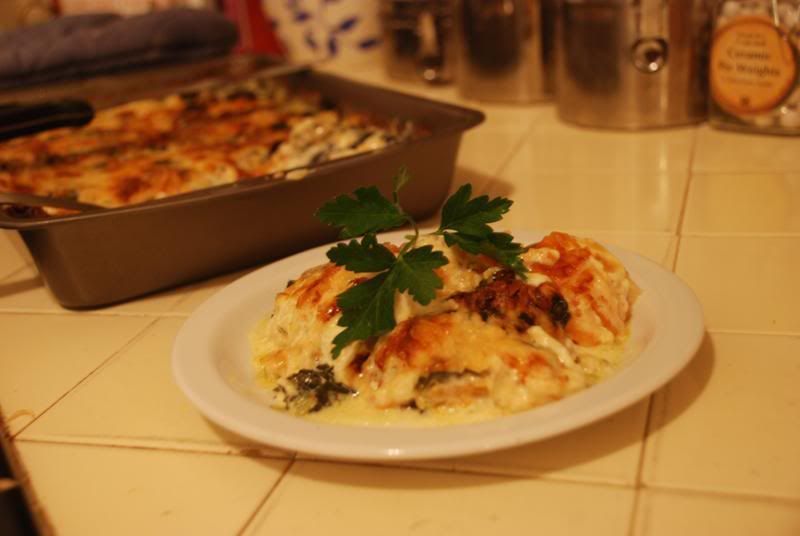
On Monday what began as a small endeavor turned out to be a 4 1/2 ordeal from start to finish. But I was proud of the finished product. I just wish I had my own team of sous chefs to move things along. Oh well. A gratin at 12 am is a delicious gratin nonetheless.


Sweet potato gratin with spinach, gruyere, thyme, and parsley
(Oh & lots & lots 'o' cream)

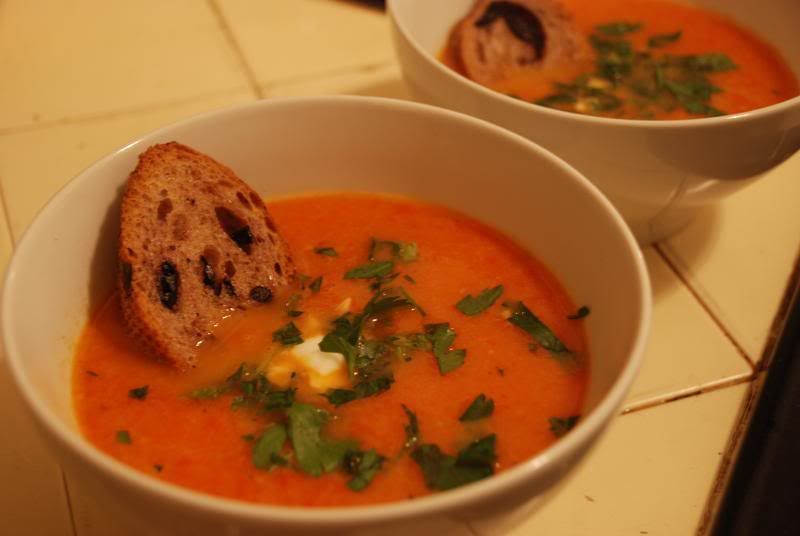
Roasted pepper and tomato soup
mmMMm warm & hearty.

Wholesome meal for a long day :)


Yesterday I just wanted to experiment, so I made these recipes
from scratch. . .

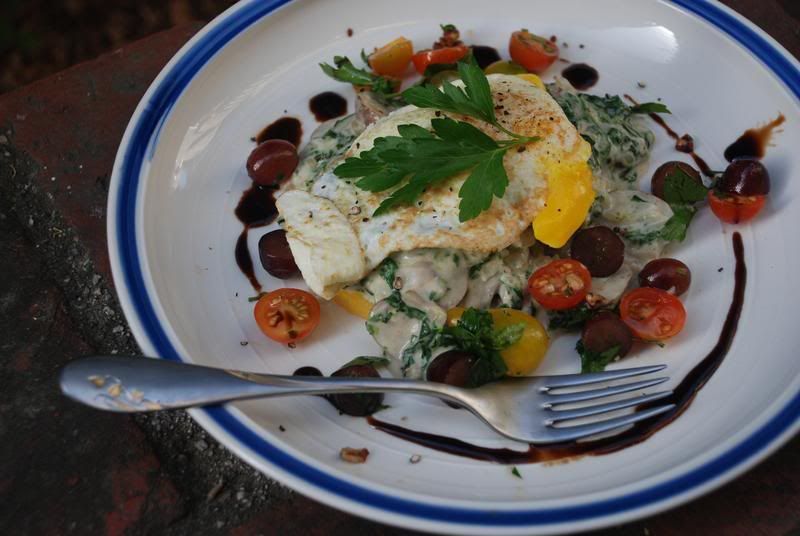
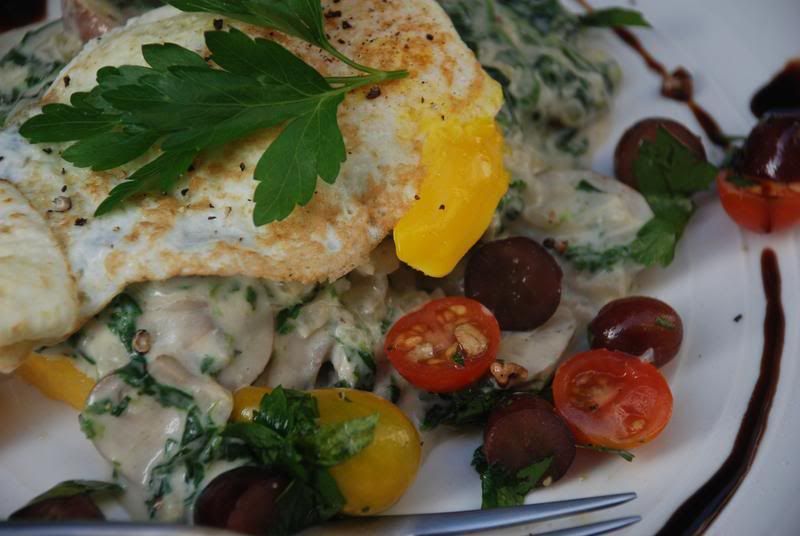
"Polenta Benedict"
Baked polenta disks, creamed spinach & crimini mushroom, topped with eggs over easy
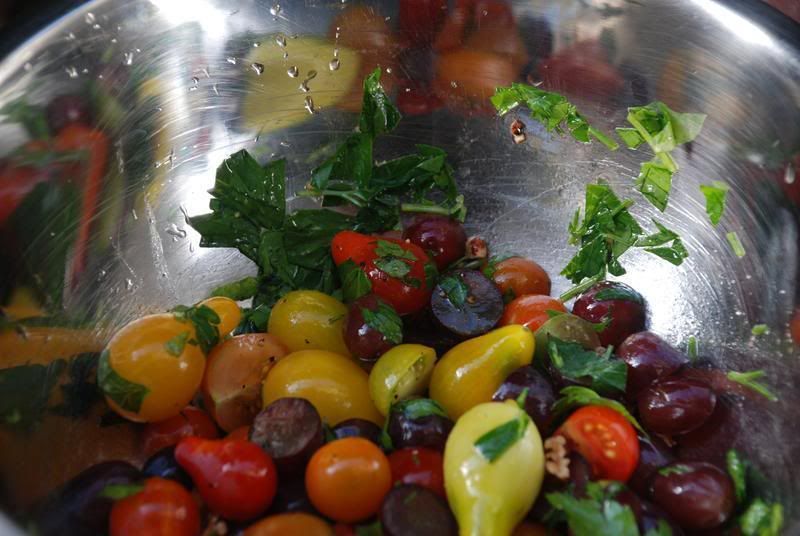
A side of mini heirloom tomatos, grapes, balsamic vinegar, and a little bit of e.v.o.o

Refreshing salad


This morning I decided to use up the buttermilk that's been sitting in the fridge. . .
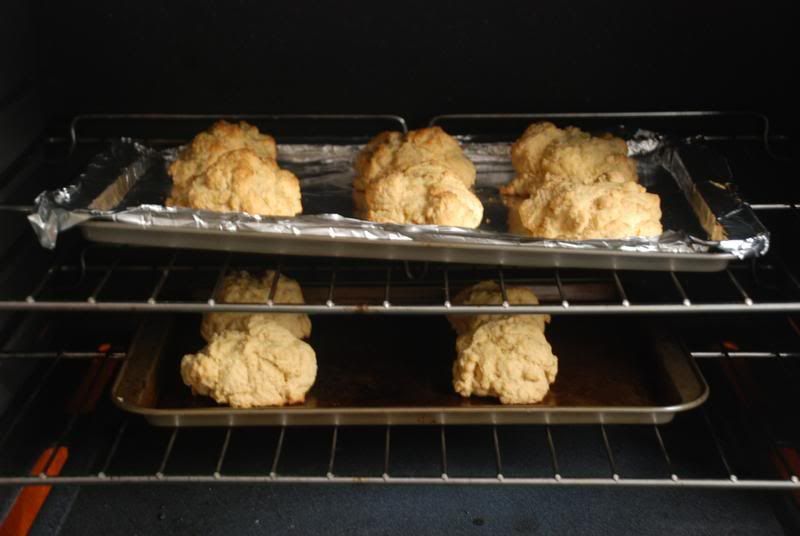
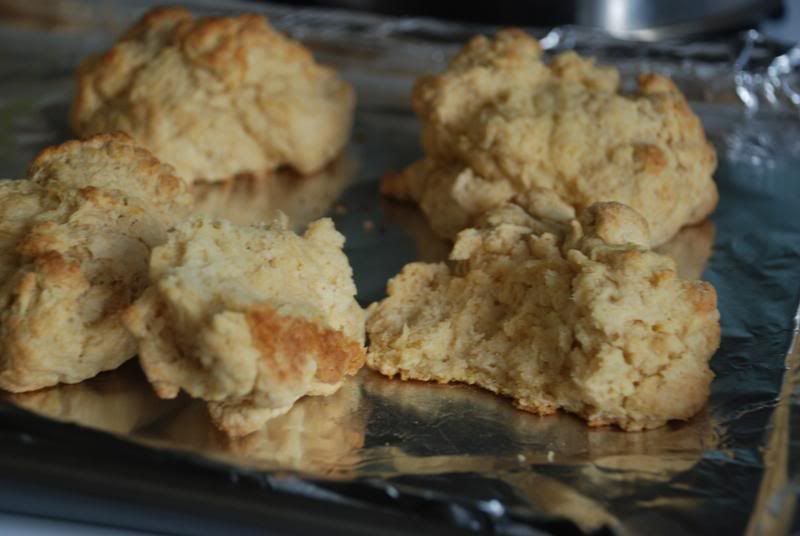
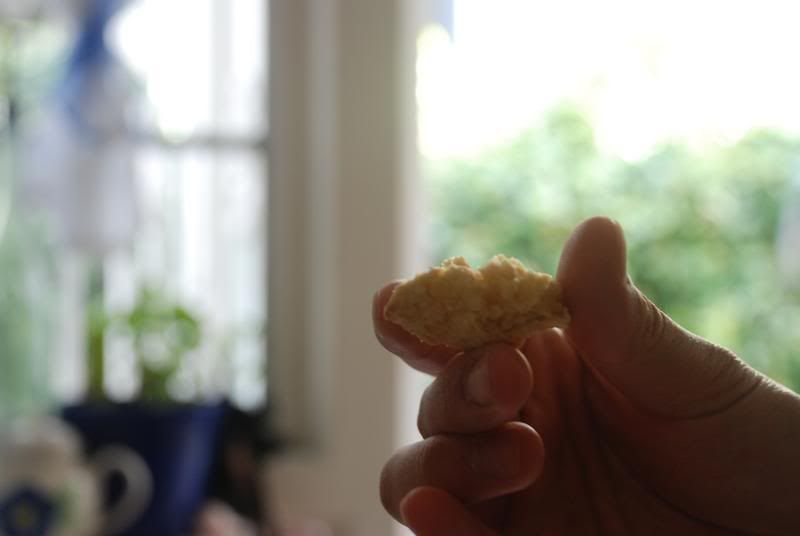
Buttermilk biscuits!
(There wasn't enough buttermilk anyway, so I subbed in plain yogurt...turned out moist and yummy and crusty on the outside. YUM!)


Beautiful.... delicate hands.

3.07.2010

Tarte aux poires.

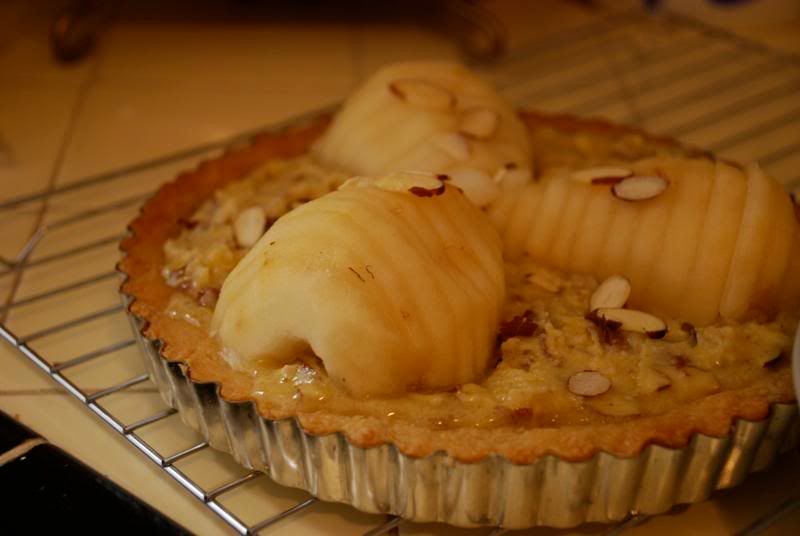
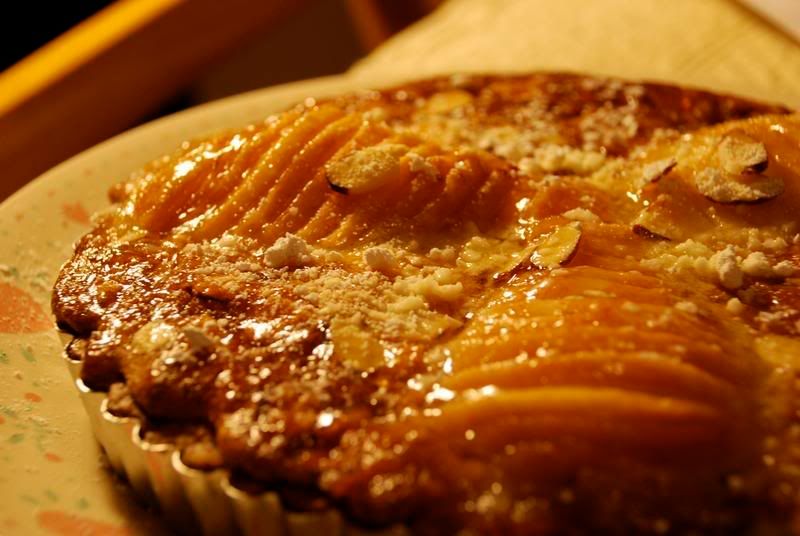
Many a pâtisserie I've passed during my time in Paris gawking and stumbling over the magnificent beauty of a french "tarte aux poires." A pastry display would not be complete, and would certainly not be quintessentially French without a pear tart in it's midst. I had fully intended on making this tart as soon as I got ahold of a superfluous amount of pears thanks (and at times no thanks) to the services of Costco, however my schedule had deemed it impossible. I finally had a free afternoon to whip it out, and within 2 hours, my tart was complete, and I was brimming with excitement at how well it turned out! (So were the people that ate it all, I'm sure.)

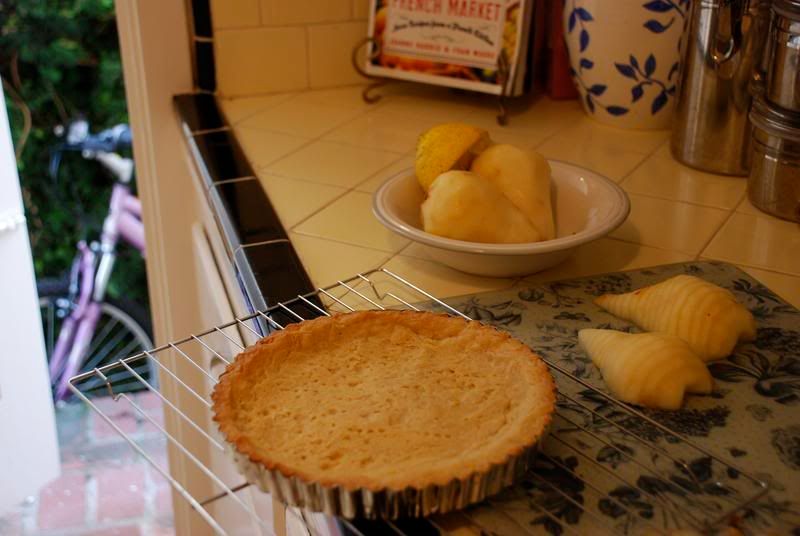
Before

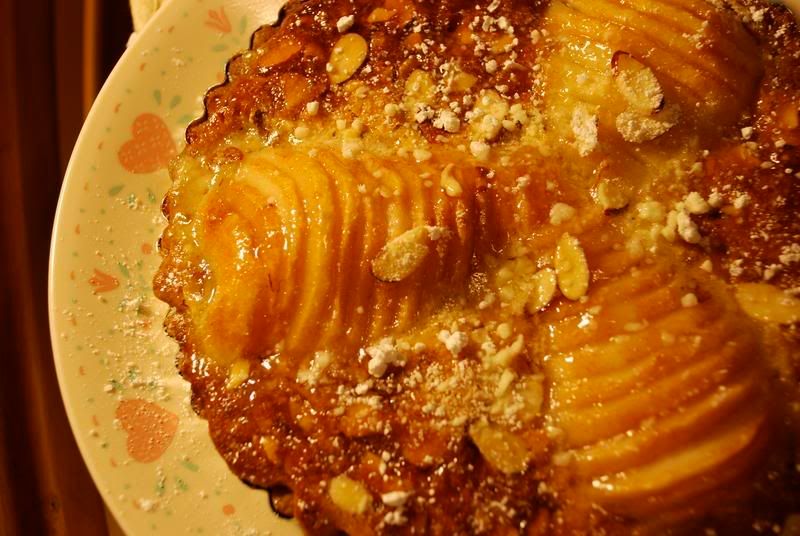
After!

Tarte aux poires

Taken from...
Taken from Tuesdays with Dorie

Makes 6 servings

For the pears:

6 canned pear halves OR 3 medium pears, firm but ripe (I used fresh)

1 lemon

4 cups water, optional

1 1/4 cups sugar, optional

For the almond cream:

6 tablespoons unsalted butter, at room temperature

2/3 cup sugar

3/4 cup ground blanched almonds

2 teaspoons all-purpose flour

1 teaspoon cornstarch

1 large egg

2 teaspoons dark rum or 1 teaspoon pure vanilla extract

1 partially-baked 9-inch tart shell, made with Sweet Tart Dough (see below), at room temperature

Confectioners' sugar for dusting, or apple jelly for glazing

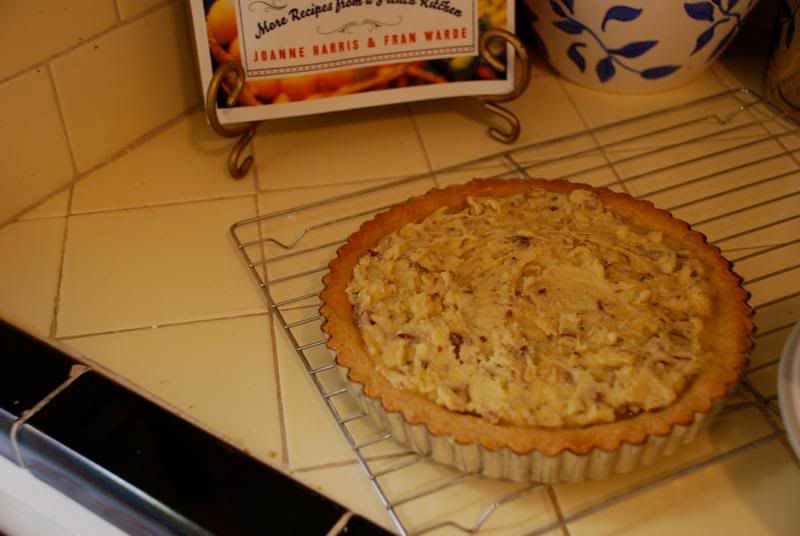
To make the almond cream: Put the butter and sugar in the workbowl of a food processor and process until the mixture is smooth and satiny. Add the ground almonds and continue to process until well blended. Add the flour and cornstarch, process, and then add the egg. Process for about 15 seconds more, or until the almond cream is homogeneous. Add the rum or vanilla and process just to blend. If you prefer, you can make the cream in a mixer fitted with the whisk attachment or in a bowl with a rubber spatula. In either case, the ingredients are added in the same order. Scrape the almond cream into a container and either use it immediately or refrigerate it until firm, about 2 hours.

Getting ready to bake: Center a rack in the oven and preheat the oven to 350 degrees F. Have a lined baking sheet at the ready. If you are using fresh (unpoached) pears, peel them now. If you are using poached or unpoached pears, cut them in half from blossom to stem and core them; rub the unpoached pears with lemon juice. Whatever pears you have, make sure to pat them dry - really dry - so that their liquid won't keep the almond cream from baking.

Fill the baked crust with the almond cream, spreading it even with an offset metal icing spatula. Thinly slice each pear half crosswise, lift each half on a spatula, press down on the pear to fan it slightly and place it, wide-end toward the edge of the crust, over the almond cream. The halves will form spokes.

Put the crust on the lined baking sheet, slide the sheet into the oven and bake the tart 50 to 60 minutes, or until the almond cream puffs up around the pears and browns. Transfer the tart to a rack to cool to just warm or to room temperature before unmolding.

Right before serving, dust the tart with confectioners' sugar. If you prefer, prepare a glaze by bringing about 1/4 cup apple jelly and1/2 teaspoon water to the boil. Brush the glaze over the surface of the tart.

SWEET TART DOUGH (Adapted from BAKING FROM MY HOME TO YOURS, but taken from my manuscript, so the wording may be a little different from the way it appears in the book)

1 1/2 cups all-purpose flour

1/2 cup confectioners' sugar

1/4 teaspoon salt

1 stick plus 1 tablespoon (4 1/2 ounces) very cold (or frozen) unsalted butter, cut into small pieces

1 large egg yolk

To make the dough: Put the flour, confectioners' sugar and salt in the workbowl of a food processor and pulse a couple of times to combine. Scatter the pieces of butter over the dry ingredients and pulse until the butter is cut in coarsely - you'll have pieces the size of oatmeal flakes and pea-size pieces and that's just fine. Stir the egg, just to break it up, and add it a little at a time, pulsing after each addition. When the egg is in, process in long pulses - about 10 seconds each - until the dough, which will look granular soon after the egg is added, forms clumps and curds. Just before your reaches this clumpy stage, the sound of the machine working the dough will change - heads up. Turn the dough out onto a work surface.

Very lightly and sparingly - make that very, very lightly and sparingly - knead the dough just to incorporate any dry ingredients that might have escaped mixing.

If you want to press the dough into a tart pan, now is the time to do it.

If you want to chill the dough and roll it out later (doable, but fussier than pressing), gather the dough into a ball (you might have to use a little more pressure than you used to mix in dry bits, because you do want the ball to be just this side of cohesive), flatten it into a disk, wrap it well and chill it for at least 2 hours or for up to 1 day.

To make a press-in crust: Butter the tart pan and press the dough evenly along the bottom and up the sides of the pan. Don't be stingy - you want a crust with a little heft because you want to be able to both taste and feel it. Also, don't be too heavy-handed - you want to press the crust in so that the pieces cling to one another and knit together when baked, but you don't want to press so hard that the crust loses its crumbly shortbreadish texture. Freeze the crust for at least 30 minutes, preferably longer, before baking.

To make a rolled-out crust: This dough is very soft - a combination of a substantial amount of butter and the use of confectioners' sugar - so I find it is easier to roll it between wax paper or plastic wrap or, easiest of all, in a roll-out-your-dough slipcover. If you use the slipcover, flour it lightly. Roll the dough out evenly, turning the dough over frequently and lifting the wax paper or plastic wrap often, so that it doesn't roll into the dough and form creases. If you've got time, slide the rolled out dough into the fridge to rest and firm for about 20 minutes before fitting the dough into the buttered tart pan. Trim the excess dough even with the edge of the pan. Freeze the crust for at least 30 minutes, preferably longer, before baking.

To partially bake the crust: Center a rack in the oven and preheat the oven to 375 degrees F. Butter the shiny side of a piece of aluminum foil and fit the foil tightly against the crust. Bake the crust 25 minutes, then carefully remove the foil. If the crust has puffed, press it down gently with the back of a spoon. Bake for another 3 to 5 minutes, then transfer the crust to a cooling rack; keep it in its pan.


Her recipe is lengthy, but it's perfect if you're a beginner, and sets up a pretty good foundation for other tart making endeavors, which you undoubtedly will have, if you've invested in a wonderful tart tin for this recipe ;) The reason I love this recipe so much is because of the almond filling. YUM! It's much richer than a boring old pastry or bavarian cream that you'd find in a fruit tart (not that bavarian/pastry cream is not good, I mean come on, it's like 60% heavy cream or something ridiculous like that), and it's a perfect compliment to the acidity of the lemon juice and pears. AHHHHH. Yum.


2.09.2010

Cocoa Brownies with a Twist

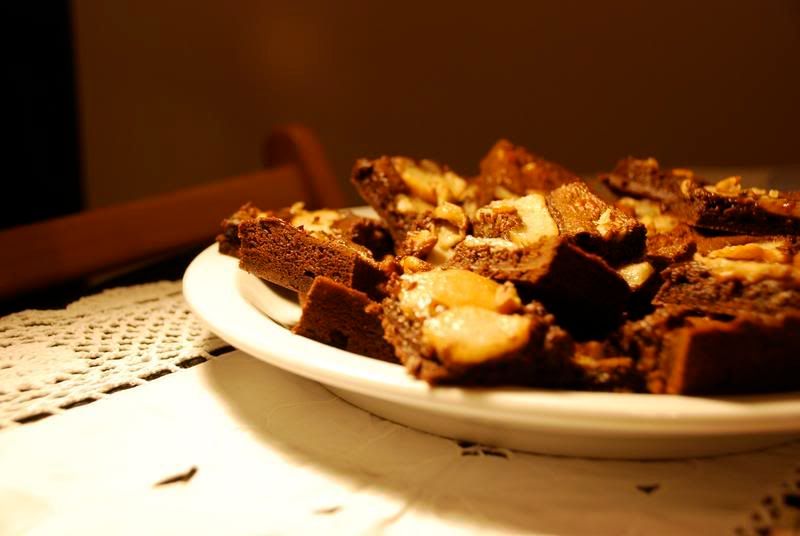
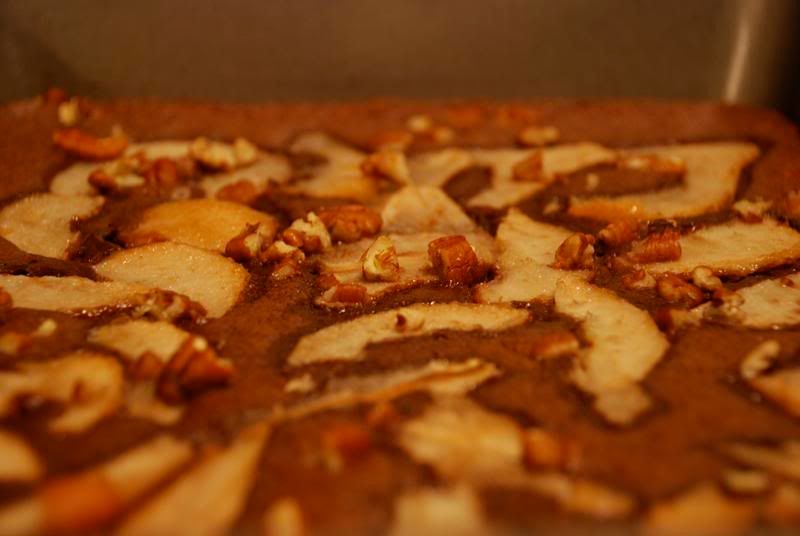
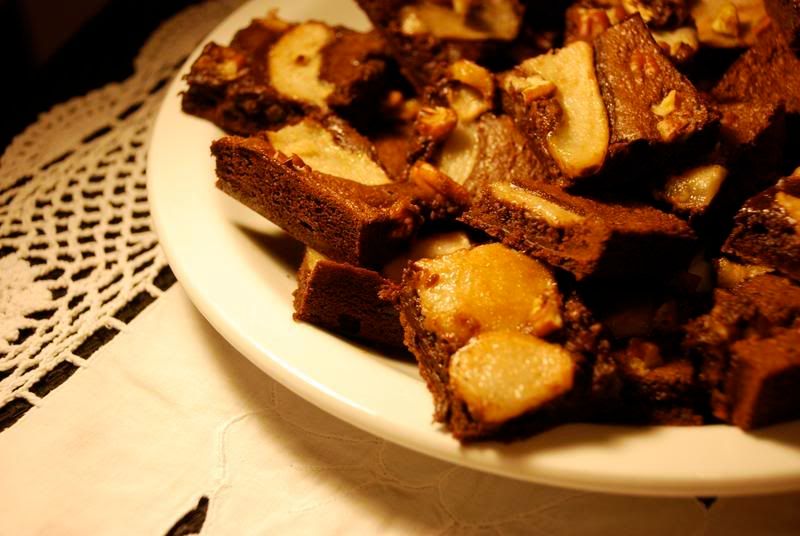
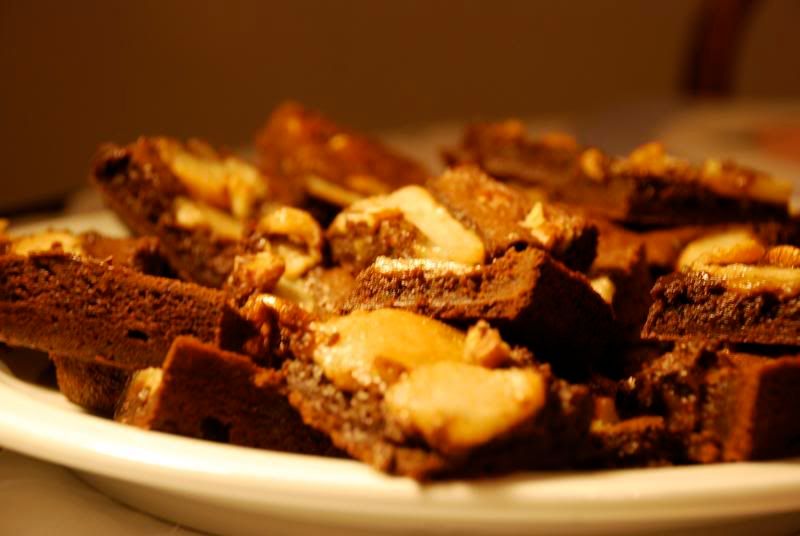
I made brownies this past week-end and decided that regular 'ol brownies would be too predictable. Then I started thinking of brilliant combinations. Like chocolate + fruit. Most notably, chocolate + pears. Okay, I know, it's not as likely as chocolate + strawberries or chocolate + oranges, but come on, pears are just miniature gifts from God. Mmm. So I took the same recipe I tried earlier on in the week, made a few tweaks, and churned out a ta-da product :)

Funny thing is, I had packed them up and placed them on the tabletop fully intending on delivering them to my friend Anna, whom I hadn't seen in a while, but a day later, there was only one left in the box! Ophir girls work up quite an appetite.

These brownies always get devoured, so if you're going for a crowd-pleaser, these are it! It's simple with few ingredients, most of which you probably already have stocked up. Oh, and probably a great recipe to make with people too, because the batter is even more finger-lickin' than the actual baked product. If I wasn't so terrified of diabetes, I would make this just for the batter. Screw the oven.

Cocoa Brownies with Caramelized Pears & Pecans
Taken & adapted from SmittenKitchen

Makes 16 larger or 25 smaller brownies

10 tablespoons (1 1/4 sticks, 5 ounces or 141 grams) unsalted butter
1 1/4 cups (9 7/8 ounces, 280 grams) sugar
3/4 cup plus 2 tablespoons (2 7/8 ounces, 82 grams) unsweetened cocoa powder
1/4 teaspoon salt
1/2 teaspoon pure vanilla extract
2 large eggs, cold
1/2 cup (66 grams, 2 3/8 ounces) all-purpose flour
2/3 cup walnut or pecan pieces
2 bartlett pears (or any of your choice) slightly firm, peeled & cored

Position a rack in the lower third of the oven and preheat the oven to 325°F. Line the bottom and sides of an 8×8-inch square baking pan with parchment paper or foil, leaving an overhang on two opposite sides. (I used 9x13, liberally greased with butter and it worked fine, depends on how thick you want your brownies)

Combine the butter, sugar, cocoa, and salt in a medium heatproof bowl and set the bowl in a microwave. Stir from time to time until the butter is melted and the mixture is smooth and hot enough that you want to remove your finger fairly quickly after dipping it in to test.

Transfer to a larger mixing bowl & stir in the vanilla with a wooden spoon. Add the eggs one at a time, stirring vigorously after each one. When the batter looks thick, shiny, and well blended, add the flour and stir until you cannot see it any longer, then beat vigorously for 40 strokes with the wooden spoon or a rubber spatula. Spread evenly in the lined pan.

Halve the pears and cut them horizontally, lining them on top of the batter. Crush and sprinkle pecans over.

Bake until a toothpick plunged into the center emerges slightly moist with batter, 20 to 25 minutes is Medrich’s suggestion but it took me at least 10 minutes longer to get them set. Let cool completely on a rack. (I go further and throw mine in the fridge or freezer for a while; it’s the only way I can get them to cut with clean lines.)

Lift up the ends of the parchment or foil liner, and transfer the brownies to a cutting board. Cut into 16 or 25 squares.


1.02.2010

Dark chocolate meringue sandwiches

So.

I've got about, a day until winter quarter starts up again and nothing packed, nothing prepared, I don't even think I've paid my registration. I didn't waive my SHIP until yesterday morning. (You UCLAers know what I'm talkin' about) This is how far going back to school is from my mind right now. Instead of doing what a normal, sane, pragmatic person would do, which is, what I can only imagine to be actually remedying this lack of preparation by, well, preparing... I go and channel my inactivity through more inactivity.

Oh, and baking.


I baked like a monster today. A fiend, Mylo would say. I had attempted to bake the night before, with disappointing results. (More on that later) But this morning had more promise. This morning I woke up, well rested, warm & cozy, the sun shining, and my parents OUT of the kitchen. A perfect formula for a good baking experience. I know this sounds so utterly cliché but I find baking so relaxing. Flour, butter, sugar, eggs makes the combination of so many wonderful final products. Best of all -- they make people happy :)

And I like making people happy...

Anyway, the recipe I made was a straggler from the many hors d'oeuvres I had on the menu for New Years Eve. As usual, I'm much too overzealous and miscalculate the gap between time & practicality. No matter. It's a really simple recipe that I retrieved from one of the baking books that Dayanita gifted me a few years ago & also incredibly elegant - looking with minimal effort. So if you prefer something gooey, messy, and barbaric, this is not the recipe for you.


Chocolate Meringue Whipped Cream Sandwiches

Ingredients

For the Meringues:
4 egg whites, room temperature
1 cup superfine sugar
1 tsp. cornstarch
1 1/2 oz dark chocolate, grated

For dipping & filling:
3 1/2 oz dark chocolate
2/3 cup heavy cream (this made too much for me, you'll probably be fine with 1/3 c)
1 tbs. confectioner's sugar

Directions
1. Preheat oven to 275 degrees Fahrenheit & line a baking sheet with parchment paper.
2. Whip egg whites in a mixing bowl until small peaks form, then, add 1/2 cup of the superfine sugar gradually, by tablespoon, until incorporated.
3. Whip until shiny and glossy.
4. Carefully fold in cornstarch & grated dark chocolate.
5. Place into a pastry bag with a star tip & pipe onto parchment paper.
6. Place into oven for about an hour, or until slightly browned. Turn off the oven & leave the meringues in the oven afterwards to prevent moisture and sticking for about 20 - 30 more minutes.
7. Melt the dark chocolate for dipping in the microwave in 30 second intervals, stirring with a fork at the end of each interval. Dip the bottoms of the meringues into the melted chocolate and cool face down (chocolate side up) on a cooling rack.
8. Whip the heavy cream and confectioner's sugar until semi-stiff consistency. Place in pastry bag and pipe onto chocolate-dipped meringues. Sandwich 2 by 2 together.
9. Sprinkle some cocoa powder on top.

Makes about 20 - 24 meringue sandwiches
Total preparation time: 30 - 40 minutes

I hate recipes that leave you with deceivingly more than they propose. This recipe stated that I would only get about 18 piped meringues, but I discovered upon piping, that I had double! Additionally, the whipped cream was also doubled. I wonder how freaking large they made their meringues, because. . . this was ridiculous.

Anyway, hope you enjoy them. They were a bit on the sweet side for me, but maybe you like that ;)


Yum. Did I forget to mention that these little darlings are low fat? Time to go try on my new Belle of the Ball Anthropologie dress!

Hehe.

9.15.2009

White Chocolate Dipped Honey Madeleines


I can scarcely believe that I have lived nearly 21 years of my life without ever owning a madeleine pan, and am even more flabbergasted that I have not attempted to make these adorable buttery cookies. I decided that it was time for a life change and opted for a pan while scavenging at, yes, you guessed it. Sur la Table. I intend on stealing pretty much everything in their inventory, but that is for a later time.


I'm in love with this recipe that I stumbled upon because it uses the simplest of ingredients and the steps are few and a cinch. Just my type!

Ingredients
  • 90g unsalted butter
  • 15g honey
  • 90g unbleached, all purpose flour
  • 1/2 tsp baking powder
  • 2 medium eggs
  • 75g confectioner's sugar
  • 10g brown sugar
  • pinch of salt

1. Combine the 90g of butter and honey in a saucepan and melt the butter. Set aside and allow to cool a bit.

2. Combine the flour and baking powder together in a sifter and set aside.

3. Whisk the eggs, sugars, and salt together until everything is a pale yellow and at least doubled in size. The batter should fall in ribbons from the whisk. (This step takes a bit of whisking. It’s much more comfortable to do on a machine than by hand.)

4. Sift the flour and baking powder on top of the batter and gently fold. Pour the cooled honey/butter along the edge of the bowl so it gently pools on top of the batter. Gently mix, trying to maintain the volume as best possible. Cover and allow to rest in the fridge for at least 30min.-1 hr.

5. Preheat oven to 425° F regular bake or 400°F convection bake. Melt @ 1 T butter and brush the madeleine molds.

6. Carefully pour batter into a pastry bag fitted with a 4pt or 6pt tip (depending on your madeleine pan.) Try to keep from over-handling the batter and destroying it’s volume. Alt. method. Put batter in gallon size plastic bag then cut tip of one corner for an instant, disposable pastry bag. Pipe a line of batter in each mold cavity filling about 85% full (batter will spread during baking, so don’t worry about pressing it to edges.)

7. Place in oven on middle rack, and bake for no more than 5 minutes (10 min. for regular madeleine pans.) Be careful not to over-bake or else the madeleines will dry out. Immediately remove madeleines from molds and allow to cool on a wire rack.

8. If you wanted to leave as is, they taste delightful, but I chose to dip it in white chocolate. You can simply melt white chocolate candy pieces and dip immediately!


Finish it off with a glass of ice wine.
À votre santé!

9.13.2009

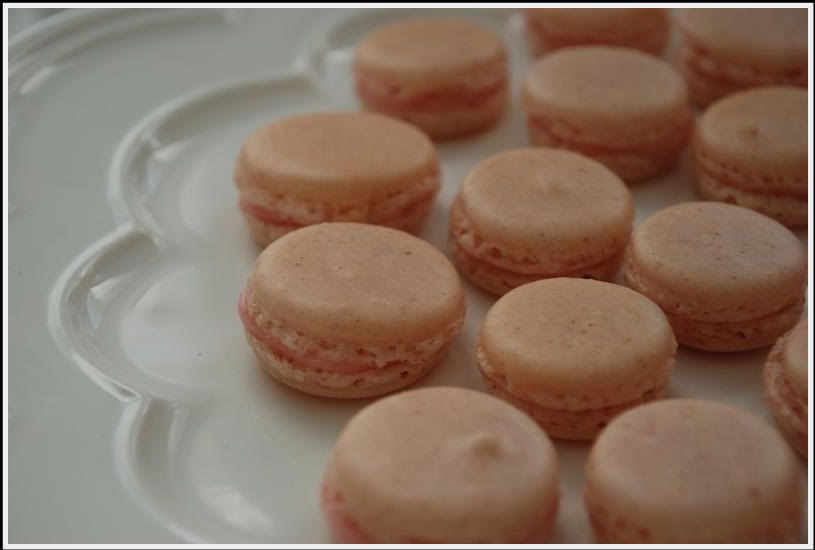
Strawberry Macarons

Some old white guy probably came up with that old adage which said that "life has no certainties, and there are no absolutes." Well, that white guy is probably dead, which is tragic for him, because not only is he dead, he's dead and wrong. There are few things in life that I can say for certain, will always bring a smile to my face no matter how old and jaded and in general disarray that I am. A trip to Anthropologie, freshly cut flowers, lavender milk tea, a package in the mail, Jim Sturgess, and of course, the très petit, très mignon, très délicieux macaron.


With origins dating back to the 18th century, these little bites of heaven have captured my heart. Not to be confused with the "macaroon," which are the toasted coconut confections of North American popularity, the macaron is perfectly and unsurprisingly, French. I had my first encounter with the macaron during the summer of 2007. It was a clear day in Paris. Walking past an adorable pâtisserie on the corner of a street in Montmartre (which is no longer there, sadly.), my friend Megan and I decided to dangerously venture in, intrigued by the bustling line that had formed around the counter and lulled by the wafting scents only a bakery can produce. Suddenly, there they were, behind that pristine domed class counter. Stacked on top of one another in a variety of colors, beckoning my taste buds to submission. I had to have one. But what the heck were they? I had no idea. Megan purchased a pistachio, while I had the black currant. Hold on while I recall our reactions. Oh yes.

"OH.
MY.
SWEET.
GOD."

That sounds about right. Returning to the States was torture simply because there were no macarons to be found. And if there were, none that were comparable to those of the Parisian variety with their certain "je ne sais quoi." It is that memory that fuels my delight and silly hope of one day standing behind the counter of a pâtisserie instead of in front of one, most likely drooling.

Of course this tale does come with a point. Since Paris, I have attempted to make some of my own, but the process is so meticulously arduous that I seldom do work up the courage to set aside the afternoon---or maybe more like a day--to create them. A couple of years ago I tried a plain almond and nutella macaron which was, I'm proud to say, very successful. However I've lost that original recipe and this time around, I decided to be a bit more experimental which cost me dearly in hindsight. These delicate meringue cookies are so fragile and temperamental it makes me want to cry in surrender, but if you are lucky enough to get them perfect, it's well worth it. I don't think one understands the average price of a macaron until they attempt to make one.


I wanted to ensure the success of my macarons because my heart was so set on devouring them that I invested in a kitchen scale. Isn't it adorable? Farewell pesky metric conversions! It was only $35.99 on sale courtesy of Sur La Table. Marked off from $60! I was ecstatic.


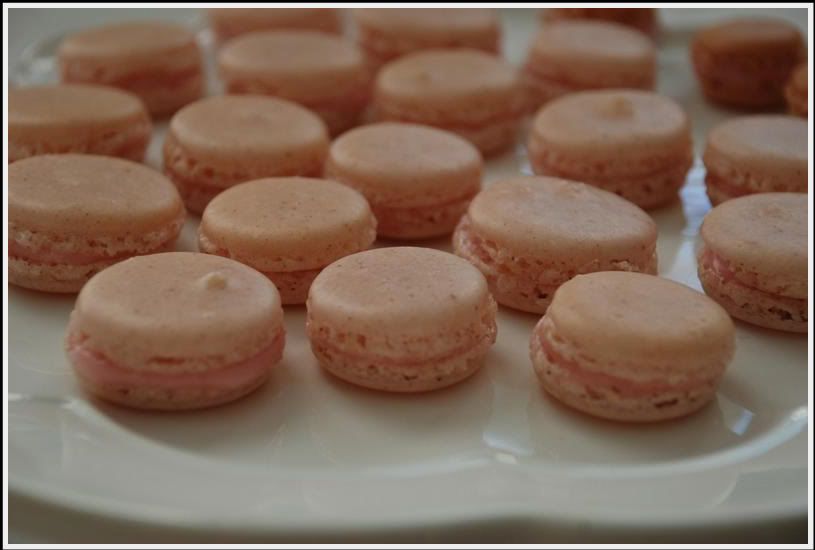
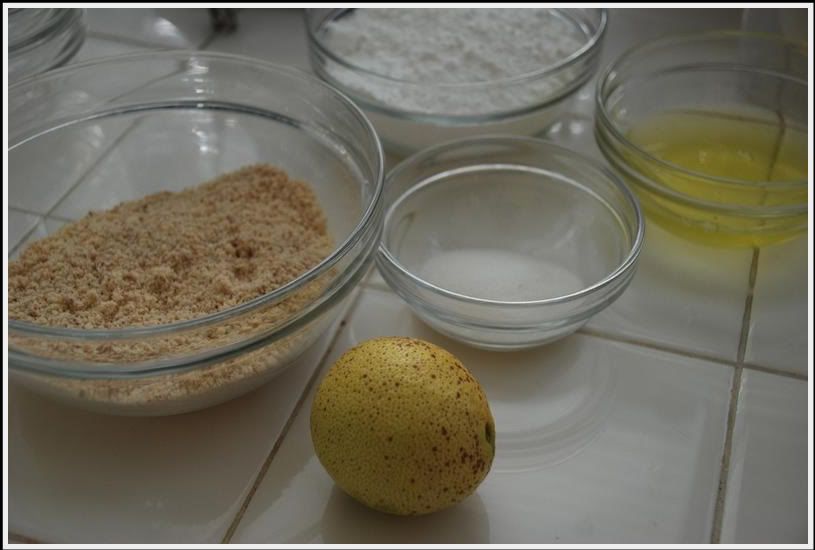
As intimidating as they are, the macaron is comprised of simple ingredients. Almond (or hazelnut) powder, egg whites, confectioner's sugar, and just a touch of lemon. For these, I made a strawberry ganache as the filling.

The recipe I used was from La Cuisine de Mercotte here, and hopefully next time I will set aside my nervousness to pay closer attention to the measurement conversions so that perhaps you can try a hand at it too!

Ingredients
  • 90g egg whites that have been aged and brought up to room temperature
  • 220 g confectioner’s sugar
  • 120 g almond meal roasted in a 300 degree oven for 10 minutes and allowed to cool
  • 25 g granulated sugar
  • 1/4-1/2 Tsp of powdered food coloring of your choice


Directions

1. Place a baking sheet in the oven and preheat at 300 degrees for small macarons or 320 degrees for large ones.
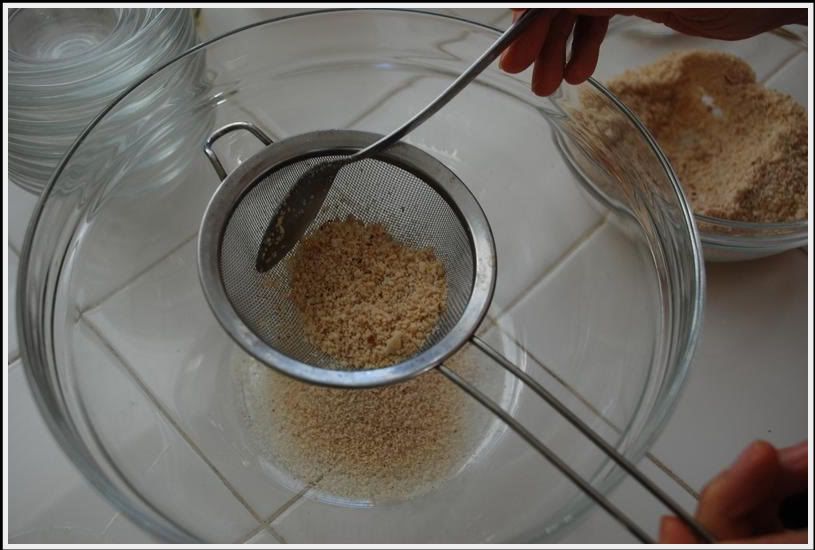
2. Use the pulse mechanism on your food processor to blend together the confectioner’s sugar and the almond meal, making sure that they don’t overheat. Sift this mixture.
3. Beat the egg whites until firm with 2 drops of lemon juice and a pinch of salt, allow them to foam and add the granulated sugar bit by bit. Before you finish beating the meringue, add the coloring.
4. Pour half of the almond mixture onto the meringue, and incorporate it with a spatula by starting from the middle of the bowl and moving upwards and out. When the mixture becomes homogeneous, add the rest of the almond meal and sugar and repeat the same process.
5. The batter should be a shiny, smooth, pliable, quasi-liquid mixture that resembles magma. Pipe out your shells in staggered rows on perforated baking sheets, covered with a silicone mat or parchment paper. You should use a pastry bag with a 10 mm tip for this.
6. Place the shells into the oven on the heated baking sheet. Cooking time is about 13 minutes for small shells, but if you are making large macarons they will need a few extra minutes. Let them cool slightly before removing them from the baking sheet. If you use a silicone mat, the shells should pop right off, no need to entice them by slipping moisture underneath!

I suggest at this point that you make a small indentation on the underside of each shell. This makes it much easier to fill them later on.

Cooking times will obviously vary according to the oven.

Due to certain atmospheric conditions or supernatural causes, perhaps you find it necessary to leave the piped shells out for an hour before baking to help the outer crust develop. I, on the other hand, don’t; but maybe you should give this method some thought if you consistently end up with macarons that are cracked or have no collar.

The quantities in this recipe will yield about 120 shells or 60 macarons.


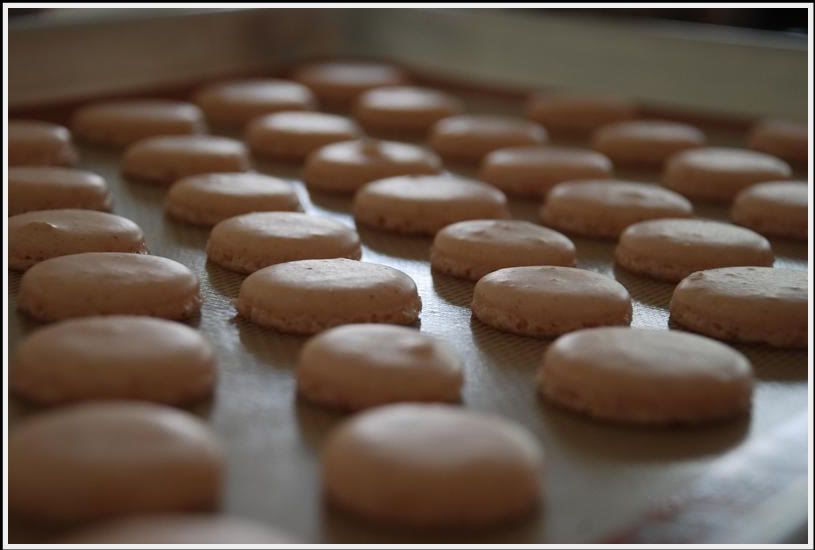
My first batch was a disaster because I didn't let them sit! I highly suggest this important step!


Because it's gives you this! Ta-Da!


Goodness. That's enough for me for quite some time. The aspiring pastry chef in me is still bruised from the initial failure. There's a lot more that I can tweak about this recipe, but perhaps when I muster up the gall to give it another go, you'll be the first to know. I also juggled making madeleines (which you'll hear about later) and sharing the kitchen with my mom (always fun, but grrr she takes up so much counter space) which may have contributed, but I'd like to think so.

Bon appétit.